

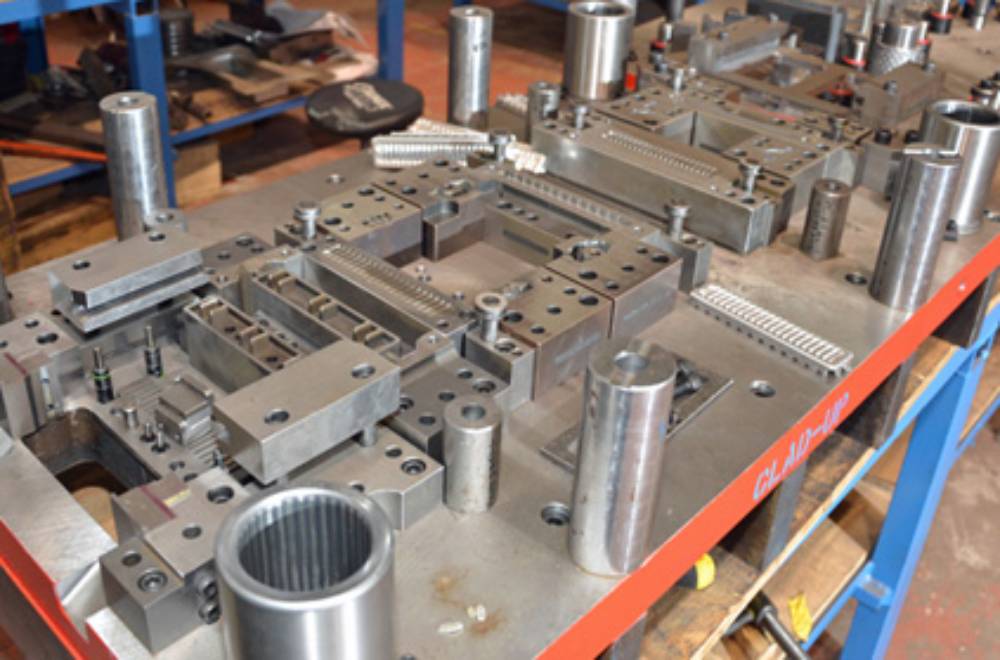
Progressive Die forming is one of the most popular manufacturing processes for precision metal parts.
Here, the accuracy of the metal part design plays an important role, as it affects its overall application. Since the progressive die structure is complex, a simple die needs proper design. The components of progressive die forming like die blocks, die gauges, stripper plates, punch plates, etc., need careful design strategies. The dimension and orientation of major Progressive Die components of a progressive die depend on various factors.
For example, the dimensions of the die block depend on the sheet thickness, direction of sharp edge, and the type of material. The size of the die block ultimately decides the size of the stripper plate. Therefore, a small deviation in the dimension of the die block would affect the accuracy of the metal stamped product.
Stamping Die Design tips for progressive die forming
Progressive die stamping for sheet metal fabrication is a time-consuming and complicated process. As a result, you must accurately design the tooling to achieve the desired quality part.
In this section, we’ve included several design tips to help you along the way.
#1 – Get an idea about the orientation of the metal part:
The design of your progressive die and tools is determined primarily by how the product or component will pass through them. Rotating a part along a metal strip is a difficult stage of progressive tool and die design.
The orientation of the component also depends on the amount of lift required to transport a strip from one stage to the next.
Since shorter feeds create fewer problems and also have a short run-time, the orientation of the part and consequently the rotation of the component needs consideration.
#2 – Decide how the part will be carried:
How each component is carried has a direct impact on how well you feel the raw material,
whether you lift the strip during feeding, and the output quality and consistency.
Once you figure out how the component is carried throughout the process, you can decide the specific configurations.
The most common way is to carry the part on one side of the feeder strip or use a ladder style.
#3 – Piloting
The number of pilots and their placing is usually dependent on the metal part design and the tolerance requirements. Even a minute difference in piloting can create holes in the metal part with a lot of discrepancies. This hampers the accuracy of the design.
#4 – Ensuring an exit strategy
An exit strategy is an essential component of progressive tool design. Several factors must be considered, including the component’s weight, shredder pin, and carrier type.
#5 – Determining the exact number of stations required
Once you have finalised the progressive tool and die design, you should confirm the number of stations needed for your project.
If this is not done from the start and the numbers don’t match, the resulting design may harm the progressive tooling you already have in place.
Also Read: Starting an Online Store Is Veritably Easy


3 Comments